Pages

Showing posts with label Pretty Pink Posh. Show all posts

Saturday, September 20, 2025

*Create It 3-Ways Instagram Hop*

 Every month, a group of us play with a common theme and we each make three cards using that common theme... the twist is that we need to use at least one common element from our stash in each of our three cards.  We call this the Create It 3-Ways Instagram Hop.

For this month, we are playing with Congratulations cards.  I saw a colour combination I loved online the other day and decided to play with that colour combination and made all three cards using the exact same materials.  I made each one a little more clean and simple than the one before.

For this first card, I did the floating strips technique where I adhered my paper strips to a piece of acetate and then used foam adhesive behind the  acetate to give it all some dimension (which you really can't see in this photo)


My second card uses those same strips, but just a few of them in the centre of the card... less of the card front is covered so it is more clean and simple.


And then finally, my last card is much more clean and simple.  I used a wave die to cut my front panel and I adhered small pieces of the the colourful strips behind the two panels I created.  I think this one is my favourite...

Card Info
*Cardstock:  Stampin' Up! Basic Black, Island Indigo, Lucky Limeaid, Poppy Parade
*Dies:  Pinkfresh Slim Strips; Pretty Pink Post Congrats Script; unknown wave
*Tools:  Perfect Layers


Saturday, April 19, 2025

*Addicted to CAS #281*

It's time for a new challenge at Addicted to CAS... and this time I am the host!  I chose the code word "star" for this challenge!


I'm sure I had an idea when I chose this word for my challenge... but when it came time to create, I had no idea what I wanted to do LOL!  I had some of this beautiful rainbow pattern paper on my desk so I decided to play with it.

Card Info
*Cardstock:  Stampin' Up! Basic Black
*Paper:  Stampin' Up! Full of Life
*Dies:  We R Memory Keepers Nesting Stars; Pretty Pink Posh Congrats Scripe
*Tools:  Perfect Layers
*Challenges:  Addicted to CAS #281


Saturday, October 28, 2023

*Less is More #495*

It's a colour combo challenge at Less is More this week....


I know I say these words a lot with these challenges, but I really struggled with this one.  When I saw the colours, all I could think of was a baby card...and honestly, I was trying to create this card while the mojo was running VERY low.  This is not my best work and I'm almost embarrassed to share it!

Card Info
*Cardstock:  Stampin' Up! Balmy Blue, Bubble Bath
*Dies:  Pink Fresh Studio Slim Strips; Pretty Pink Post Congrats Script
*Tools:  Perfect Layers
*Challenges:  Less is More #495


Tuesday, October 25, 2022

*CAS Colours & Sketches #493*

Good morning!  It's time for a new sketch at CAS Colours & Sketches.  I saw this sketch and immediately thought of candy cane stripes... so I grabbed some patterned paper and off I went!


This patterned paper was just perfect with the different sized candy cane stripes....

Card Info
*Cardstock:  Stampin' Up! Sweet Sorbet
*Paper:  Brutus Monroe Candy Stripes
*Images:  Pretty Pink Posh Winter Wreath
*Ink:  Versafine Clair Nocturne
*Tools:  Perfect Layers

Monday, November 08, 2021

*Happiest of Embossed Holidays*

Here is another card that I created by embossing with a stencil in my stash from Pretty Pink Posh.  The embossing is very subtle compared to using an embossing folder, but I still like how it looks.  This stencil, I think, looks better embossed like this than used as a typical stencil....  there's just so little white space between the images so I find it difficult to work with... it's probably me, not the stencil.

And while I love it this way, it is very difficult to photograph, though... LOL


Thursday, October 14, 2021

*Embossed Stencil*

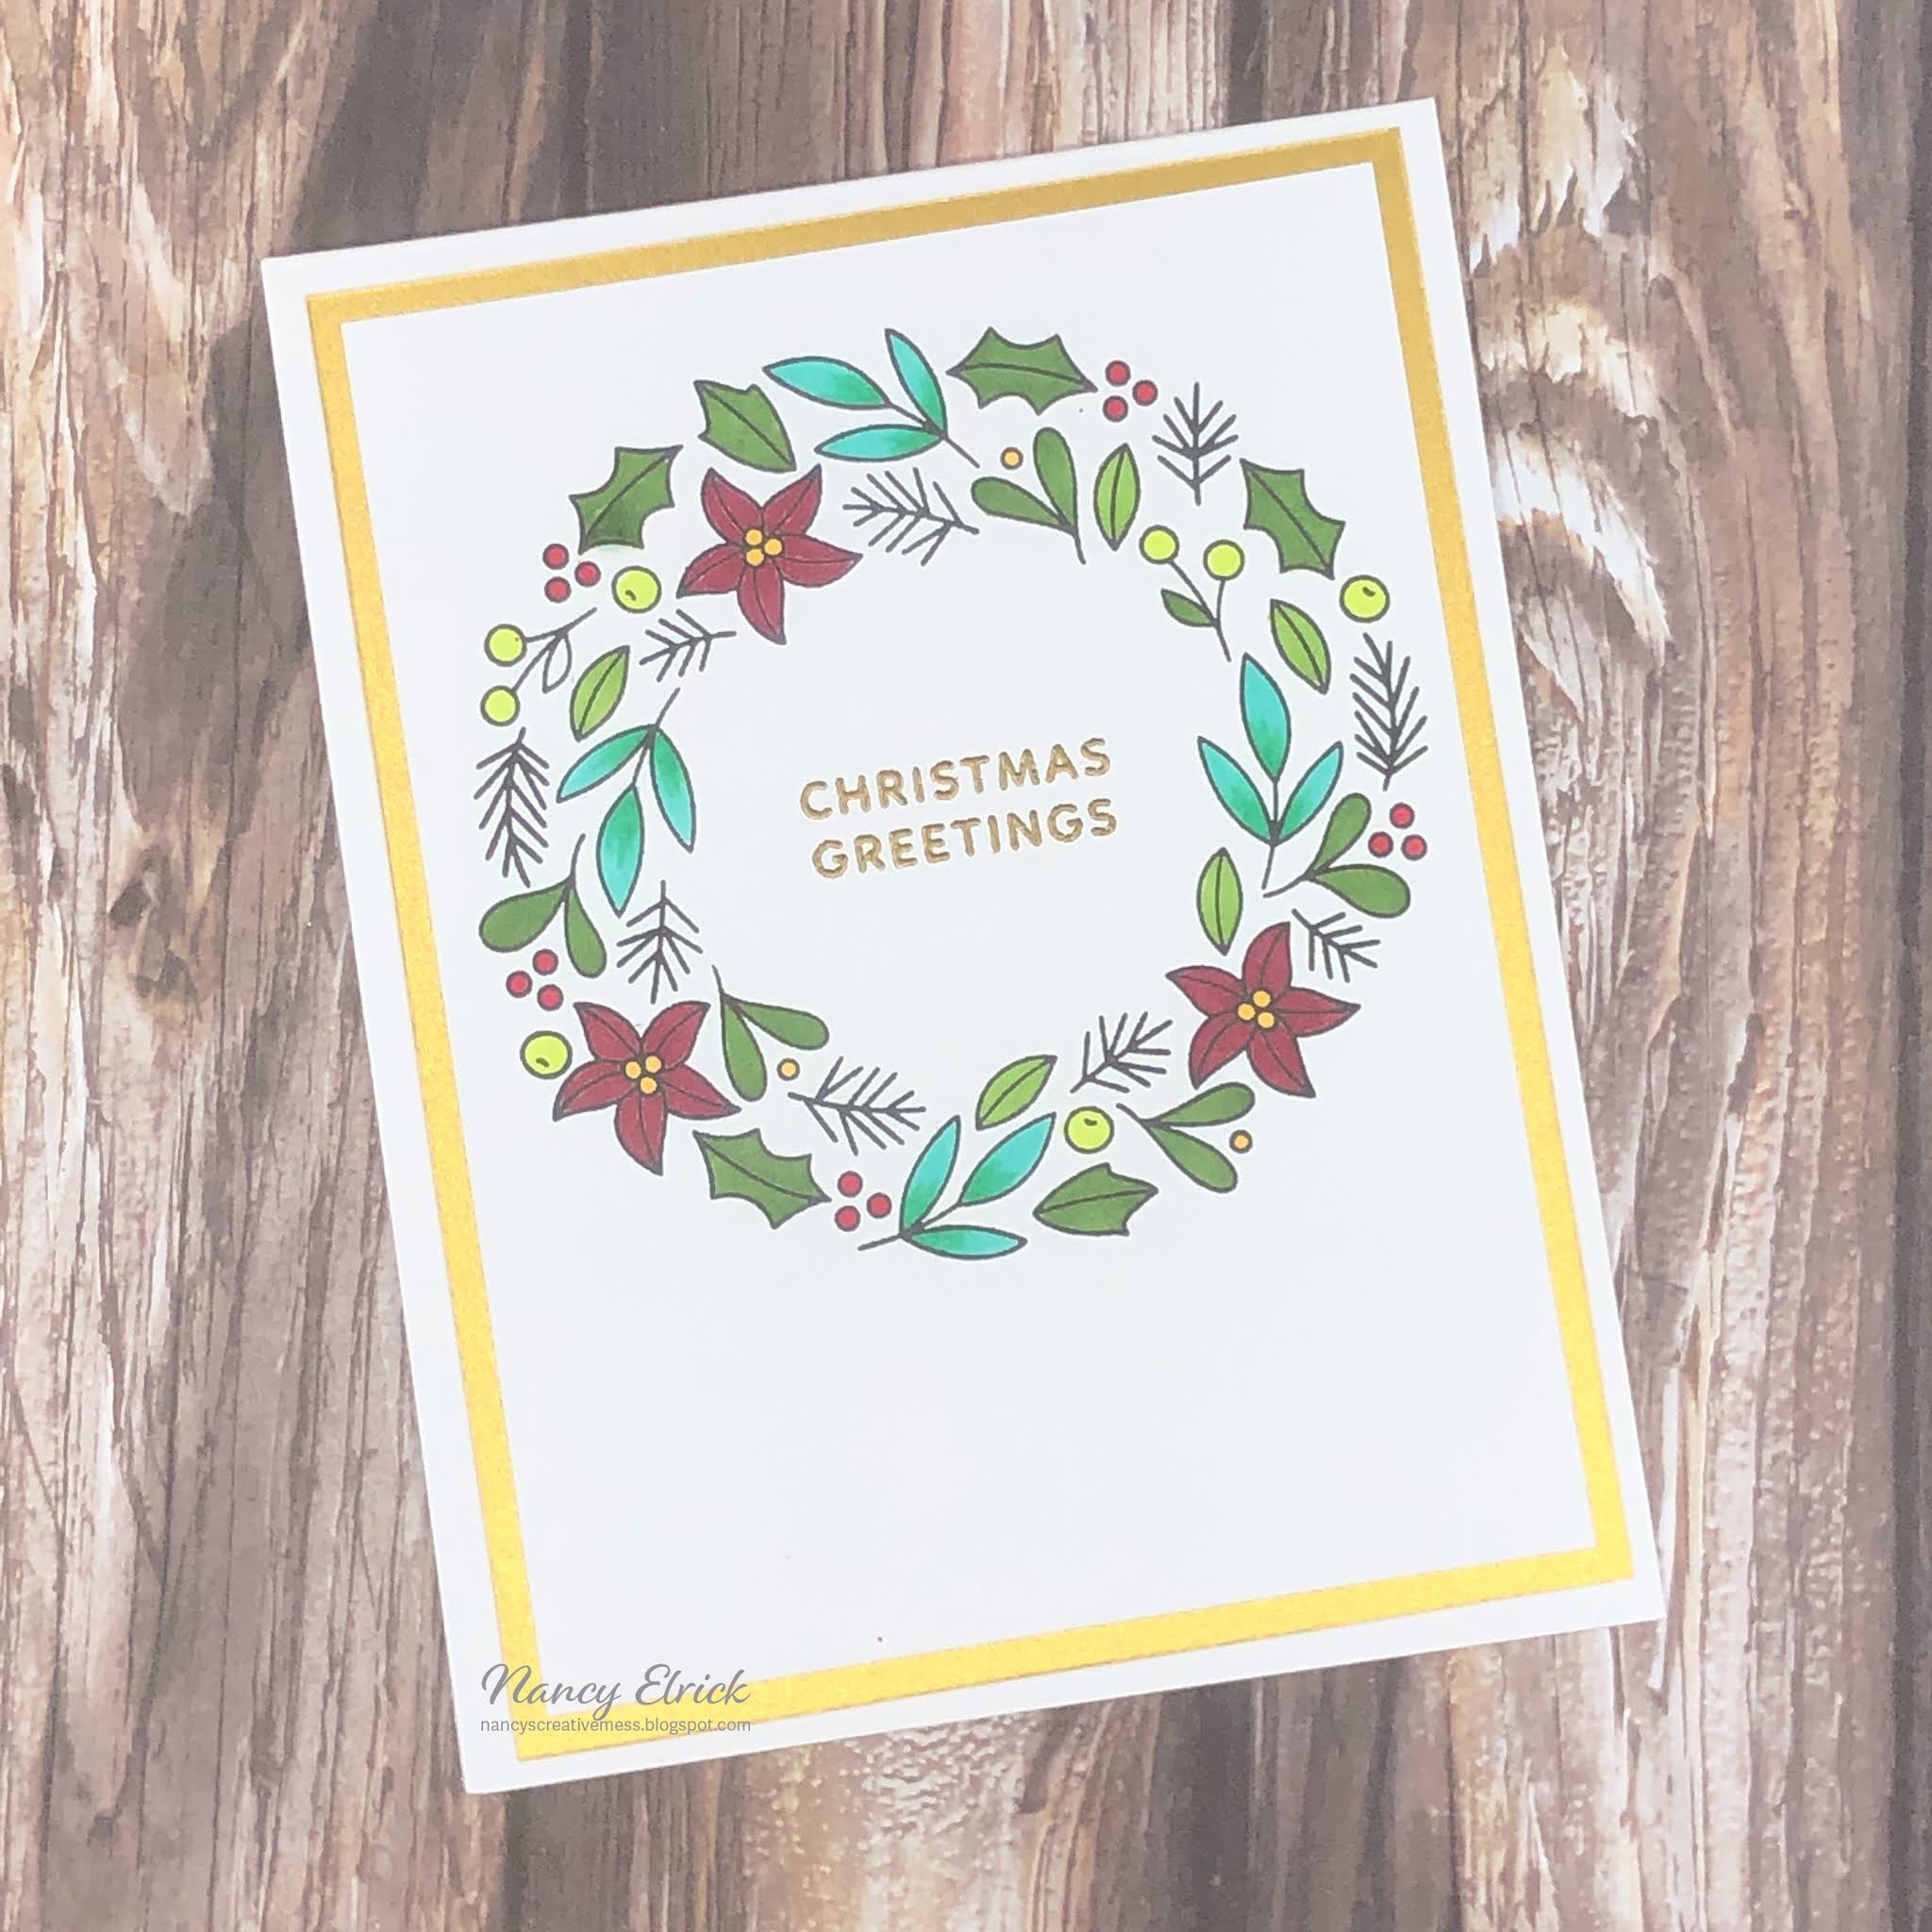
I was watching a Cathy Zielske video this past weekend where she used a stencil and a rubber mat to do embossing (like an embossing folder) and while I had to throw out my rubber gasket mat (it had been sitting in a window and got brittle) I did have some thick fun foam on hand so I decided to give it a try.  I ran a few sheets of cardstock through a few different ways and decided to play with one of those sheets to go along with the October Happy Little Stampers Stencil Challenge.

But that was as far as I got until my friend Bonnie set me up with a sketch to try while we were crafting over Zoom...

Items Used
*Cardstock:  Creative Expressions Gold; Stampin' Up! Cherry Cobbler
*Images:  Pretty Pink Posh Winter Wreath' Lawn Fawn Seasons Tweetings
*Ink:  Versafine Clair Nocturne; Sharpies
*Stencil:  Pretty Pink Posh Whimsical Christmas
*Dies:  Lawn Fawn Seasons Tweetings; Stampin' Up! Tasteful Labels
*Tools:  Perfect Layers

Monday, October 04, 2021

*Silver Foil Congrats*

I love to make Christmas and Birthday cards... but once in a while I have to stretch myself to do other things... like graduation cards.  I kinda like how this one turned out...

Items Used
*Cardstock:  Stampin' Up! Basic Black
*Patterned Paper:  Stampin' Up! (retired)
*Stamps:  Taylored Expressions The Tassel
*Ink:  Versafine Clair Nocturne
*Dies:   Pretty Pink Post Congrats Script
*Tools:  Perfect Layers; Brother Scan 'n Cut


Thursday, July 29, 2021

*Mojo Monday #508*

It has been a LONG time since I last played with a sketch from Julee Tilman's Mojo Monday... and while this is one of her sketches, it is far from being the most current one.  I was challenged to use this sketch on one of my online groups and I had a lot of fun making the card somewhat clean and simple.  It's not minimalist, by any means.... but while there are a lot of layers, there is not a lot else going on.

Items Used:
*Cardstock:  Neenah Classic Crest Cover Solar White 110lb; Stampin' Up! Daffodil Delight, Costal Cabana, Poppy Parade, Granny Apple Green
*Dies:  Spellbinders; Pretty Pink Posh Congrats Script


Thursday, May 06, 2021

*Congrats*

I played along with Week #55 of Craft Roulette a few weeks ago where the parameters were a congratulations card using cool colours and you had to include woodgrain and food in your creation.  My only thought with a food theme and congratulations was to use these champagne flutes.  I used some patterned paper with a tone on tone look to it (which happened to be dots) to create the look of champagne and bubbles in the glasses.

Items Used
*Cardstock:  Neenah Classic Crest Cover Solar White 110lb; Stampin' Up! Balmy Blue
*Patterned Paper:  Stampin' Up!
*Images:  Your Next Stamp Happy Hour; Stampin' Ip! Birch
*Ink:  Versafine Clair Nocturne; Catherine Pooler Twilight
*Dies:  Your Next Stamp Happy Hour; Pretty Pink Posh Congrats Script
*Tools:  Perfect Layers


Thursday, December 10, 2020

*Wreath Greetings*

When I saw this stamp set, it was one I had to have.  And while I've played with it a few times, I will admit I've never been completely pleased with the cards I've created.  I don't know what it is... I love the image but...

Items Used:
*Cardstock:  Neenah Classic Crest Cover Solar White 110lb; unknown gold
*Images:  Pretty Pink Post Winter Wreath
*Ink:  GinaK Amalgam; Copics; Versamark
*Tools:  heat tool; Perfect Layers
*Etc:  gold embossing powder


Thursday, November 19, 2020

*Gold Ornament*

In my internet travels, I saw a challenge for a gold and red card... I have no idea where it was but it got the wheels turning.  I used one of the layers from one of the Birch Press layering ornament sets and put it on a red card front.  A little embossing for the greeting and that's about it.

Items Used:
*Cardstock:  Neenah Classic Crest Cover Solar White 110lb; Stampin' Up! Cherry Cobbler; unknown gold
*Images:  Pretty Pink Posh Winter Wreath
*Ink:  Versamark
*Dies:  Birch Press Marisol Ornament (Layer B); MFT Filled With Joy
*Tools:  Gemini Jr; Perfect Layers; heat tool
*Etc:  gold embossing powder


Sunday, April 19, 2020

*Congrats!*

I was asked if I could make a graduation card for someone...  I don't have any graduation stamps, so I wasn't sure I could do it.  I thought about it a bit and came up with this card.  Hopefully the person who asked for it will think it's adequate!

For this card, I followed sketch #360 at CAS(E) This Sketch
Items Used:
*Cardstock:  Neenah Solar White 110lb; Stampin' Up Basic Black; Glitter cardstock
*Dies:  We R Memory Keepers Nesting Stars; Pretty Pink Posh Congrats Script
*Tools:  Perfect Layers; Gemini Jr

Thursday, February 13, 2020

*New Baby Congrats*

A few weeks ago Cathy Zielske showed a card she received and I fell in love.  The card creator had used pastel colours for colour blending... something I never thought to do.  I've almost always done my ink blending with the intention of making a dark colour.  But I was so wowed by the gentle colours of this card I was seeing.

I immediately went to my craft desk and started to blend with some lighter shades of Catherine Pooler inks... and immediately wondered why I didn't do this ages ago!

I cut the floral background and then wondered what I wanted to do with the card... and then BOOM, my coworkers wife had their baby girl and I knew it had to go to them!
Items Used:
*Cardstock:  Neenah Solar White 110lb; Stampin' Up! Almost Amethyst
*Dies:  A Jillian Vance Design Dancing Daisies Cover Plate; Pretty Pink Posh Congrats
*Inks:  Catherine Pooler Bellini, Limoncello, Mint to Be, It's a Boy, Sweet Sixteen
*Tools:  Gemini Jr

Tuesday, December 24, 2019

*Joy Wreath*

This card looked so much better in my head than it turned out... I think it ended up being just a little too busy...  It's not that I don't like it, but I just don't love it... know what I mean?

I can't believe it's the 24th of December...  our family is celebrating Christmas a little differently this year since I'm in the midst of cancer treatments (2 of 12 rounds are done... #3 starts in a week).  I almost host Christmas here at the house but with not knowing how I'd be feeling, we decided to step back this year.  In fact, for the first time ever, Christmas will be just the four of us here.  We are doing our big dinner tonight and tomorrow we plan on opening presents, having a big breakfast, playing games and having left overs.... in our jammies.  I will admit that it feels strange, but I think it's truly what we need this year, in more ways than one.
Items Used: 
*Cardstock:  Neenah Solar White 110lb
*Patterned Paper:  Stampin' Up! Wrapped in Plaid, Feels Like Frost
*Images:  Pretty Pink Posh Winter Wreath
*Ink:  Gina K Amalgam; Tombows
*Dies:  MFT Impact Alphabet
*Tools:  Big Shot
*Etc:  Stampin' Dimensionals

Thursday, December 19, 2019

*Silver Christmas Snowflake*

Another super clean and simple card for you today.... one you could easily mass produce if you needed to!
Items Used:
*Cardstock:  Neenah Classic Crest Solar White 110lb; Silver
*Images:  Pretty Pink Post Winter Wreath; Simon Says Stamp Frozen Fractals
*Etc:  silver embossing powder
*Tools:  Perfect Layers Tool; heat tool

Sunday, December 01, 2019

*Christmas Greetings Tree*

I am back here using another scrap (or two) from my stamp desk.  I had an extra white tree cut from a few days ago and this strip of Cherry Cobbler cardstock sitting together on my desk... and I liked how they looked together.  I decided to make a card using them...  I started by stamping and embossing the tree and layering things together before adding the silver embossed sentiment to the red strip.

Clean and Simple... my favourite.
Items Used:
*Cardstock:    Neenah Solar White 110 lb; Stampin' Up! Cherry Cobbler
*Images:  Stampin' Up! Festival of Trees; Pretty Pink Posh Winter Wreath
*Ink:  VersaMark
*Tools:  heat tool; Stampin' Up! tree punch
*Etc:  silver sparkle embossing powder

Thursday, November 28, 2019

*Make Snow Angels*

I can not believe we are at the end of November already.  Life has truly flown by for me in the last 8 weeks or so.  I've been thrown a curve ball and I'm doing my best to roll with it.

On October 1st I saw my doctor with some discomfort I was feeling, October 2nd I had an ultrasound that showed a 12cm (4 3/4") mass on my left ovary.  Since then I've had some drs appointments, had surgery on October 25th to remove the mass and do a complete hysterectomy.  Sadly, tests confirmed that the mass is my colon cancer back again... Stage IV metastatic colon cancer to be exact.  On November 19th I met with my oncologist (the same one who treated me in 2017) and we formed a game plan.  On November 26th I had a port-o-cath inserted and on December 3rd I start my first round of Chemo.  I will be doing chemo in the hospital as well as taking it home with me for a few days and will be doing this every 2 weeks for 6 months.

I don't know what this will mean for my day to life, let alone card making.  I am busy scheduling posts for all of the cards I have done so far and will be here when I can to post some more.

I really and truly thought I had beaten colon cancer...  the only thing I know for sure is that colon cancer won't beat me!

So now that you're updated on my life at the moment, let's move on to the card.  I thought that sharing my news went well with this card as the sentiment is so much like "if life gives you lemons"... and I am doing my best to make lemonade (or snow angels).
Items Used:
*Cardstock:  Neenah Solar Crest 110lb
*Inks:  Catherine Pooler Suede Shoes; Versafine Clair Nocturne
*Image:  Simon Says Stamp Frozen Fractals
*Tools:  Big Shot; Life Changing Blending Brushes; Pretty Pink Posh Whimsical Christmas Stencil
*Dies:  Simon Says Stamp Marie Snowflake
*Embellishments:  Nuvo Glimmer Paste in Moonstone

Sunday, November 24, 2019

*AAA #154*

It's time for another fun challenge with the team at AAA Cards!  For the next two weeks, we are challenging to you create a "card in minutes" with a twist of using ink blending.  For a card in minutes, we understand that the first time you make the card it might take more than a few minutes... but it should be a card you could recreate in only minutes.  Be sure to link up your creation for your chance to win a great prize from our sponsor this week as well as to be featured as a guest designer in an upcoming challenge!

Our sponsor for this week is Uniko... and you could win your choice an in stock stamp set!!  Head over to the AAA Cards blog to see what the design team has created as well as to see what our Guest Designer Angie dreamed up!

I had a lot of ideas in my head for this challenge but ended up grabbing a new stamp and die set from Pretty Pink Posh.
I started by ink blending green ink on to white cardstock, allowing there to be imperfections in the amount of colour.  I stamped the wreath image on top of the colour blended cardstock with black ink using my Misti so that I could stamp it a few times to get it nice and dark over the ink blended background.  I then coloured a few of the leaves and the flowers with Copic markers.  I also added some sparkle to the other leaves using the Lawn Fawn Glitter Pen.  I then lined up the die and cut out the wreath.  The red banner is embossed with the greeting and placed directly on to a white card and I used foam tape to adhere the wreath to the front of the card.

Items Used:
*Cardstock:  Neenah Solar Crest White 110lb; Stampin' Up! Cherry Cobbler
*Images:  Pretty Pink Posh Winter Wreath
*Ink:  VersaMark; GinaK Amalgam; Catherine Pooler Spruce; Copic markers
*Dies:  Pretty Pink Posh Winter Wreath
*Tools:  Misti; Big Shot; Heat Tool; Life Changing Blender Brushes
*Etc:  white embossing powder; Lawn Fawn Glitter Pen; Foam Tape

Saturday, November 09, 2019

*White on Grey Congrats*

The LPN at our Drs is truly fabulous...  she is kind, caring, funny, helpful.... I look at her like she's my little sister or something (by a lot of years... maybe my daughter).  She got engaged earlier this year and is getting married next week... I wanted to give her a little gift so of course I had to make a card to go along with it...

I have no idea what her bridal colours are (or if she's even doing that) so I wanted something neutral and clean.... so hello white on grey.
Items Used:
*Cardstock:  Stampin' Up! Basic Grey, Shimmer
*Dies:  Pretty Pink Posh Congrats; My Favorite Things Stitched Blooms

For this card I arranged the flowers on the grey card how I wanted them and then picked it all up with some Press 'n Seal (yup, from the kitchen), flipped it over, applied some adhesive and placed it all on to my card front. 

Friday, June 28, 2019

*Birch Press Bali Take 2*

The card I shared with you on Wednesday left me with the outer ring of the Birch Press Bali dies... and I couldn't just throw those out!  So I created another clean and simple card to share with you.
Once again, I used liquid glue to put together the layers of the die.  I glued this down on the front of a top fold white card, offset to the bottom left of the card, cutting off the parts that hung over the edges of the card.  I die cut the Pretty Pink Posh congrats script die out of the bright green cardstock and went over it with the clear Nuvo Sparkle pen before adding it to the front of the card.

I love that I was able to create two cards out of what I die cut the other day...