Pages

Friday, November 10, 2017

*2017 Christmas Cards #9*

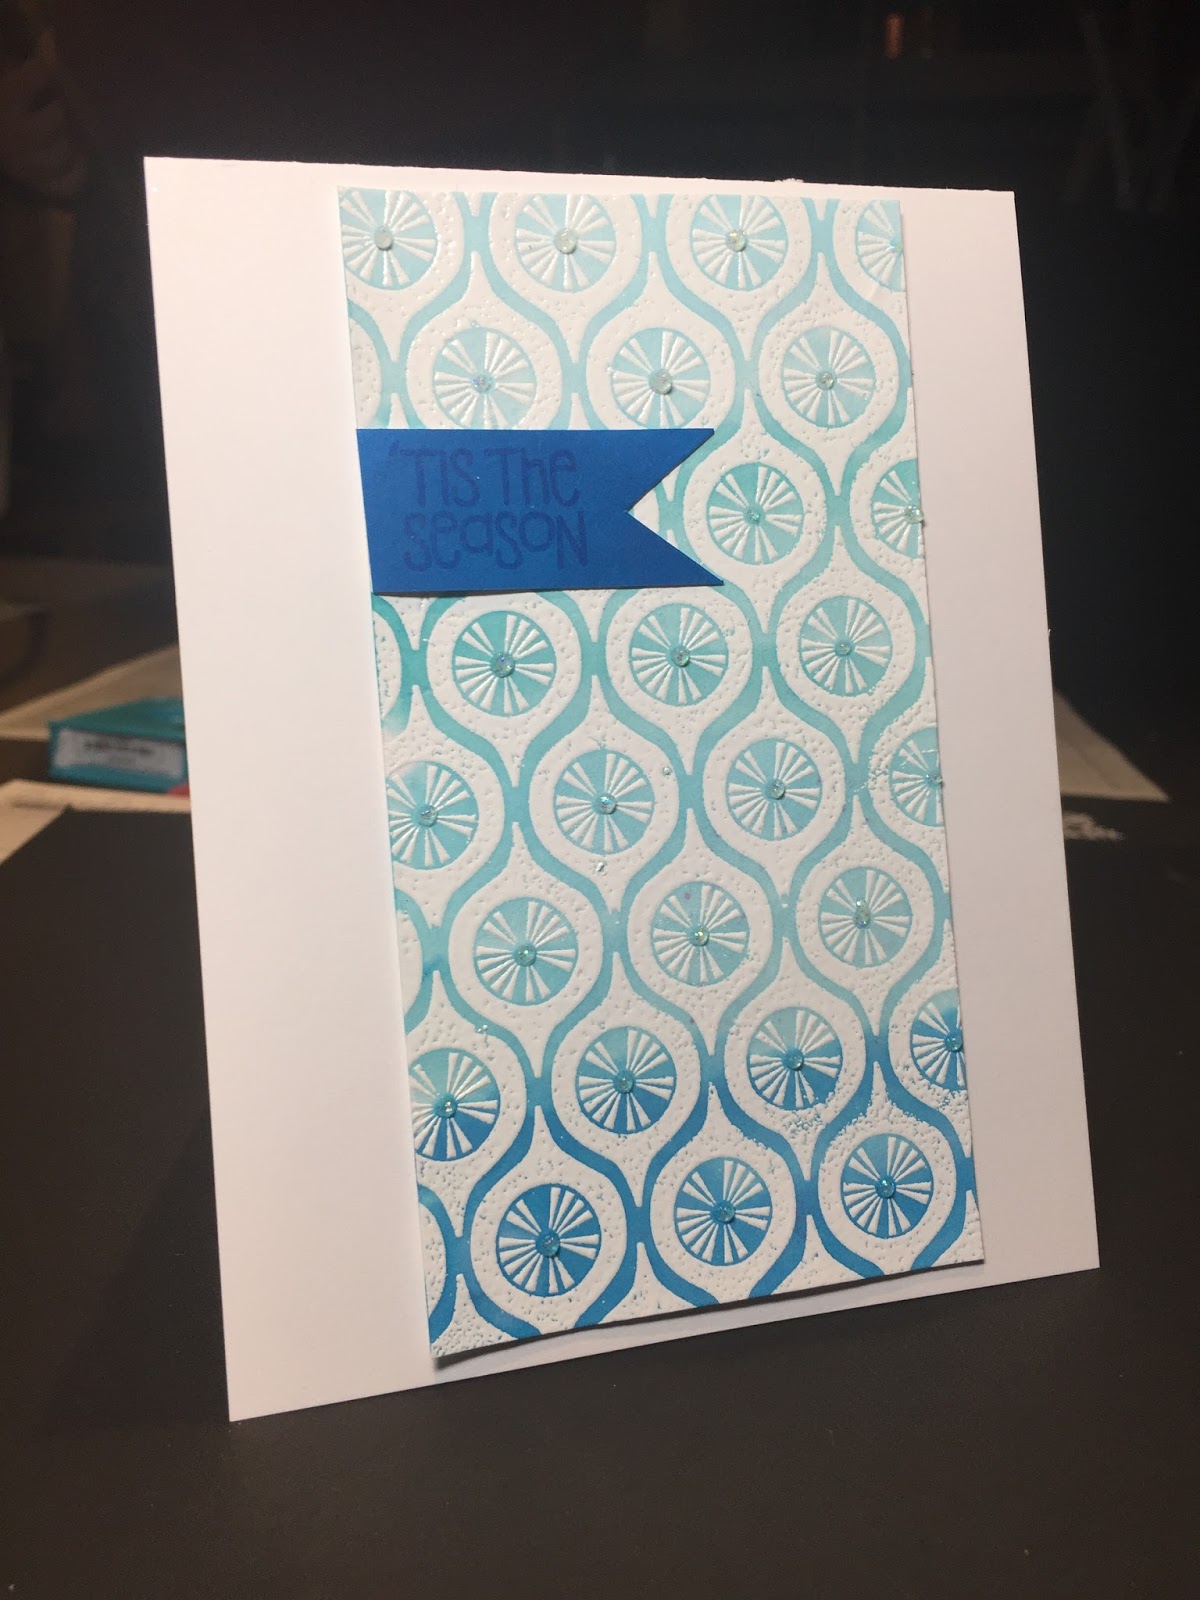
I did some sponging of the three shades of blue Catherine Pooler inks a few days ago on a piece of white cardstock.  I wanted to ensure it was dry before I started embossing snowflakes on it so I put it aside for a while.  I stamped and embossed some beautiful My Favorite Things snowflakes and then cut up the piece of cardstock in to 2" wide panels.  I made two cards like this.

I bought this Art Impressions penguin set (complete with a die to cut this guy out) last year and never inked it up...  I coloured him with Copics and used pop dots to attach him to the front of the card.

The sentiment is my LawnFawn.


Thursday, November 09, 2017

*2017 Christmas Cards #8*

Another card using all Catherine Pooler inks and stamps.  Well, almost.  I stamped the ornament background in Versamark and embossed it in white.  I did a watercolour wash over top of it using four different shades of CP inks.  I used the darker blue to colour a piece of white cardstock and stamped the greetign (which you can't really see in this photo) in Versa Mark ink.

Once again, I cut the panel down (about 2.5") and added it to the centre of my card.

And once again, big thanks to another card on Pinterest!

Wednesday, November 08, 2017

*2017 Christmas Cards #7*

I had fun with this card....  I first traced a circle with a light pencil line on a piece of white cardstock.  I then used Grass Skirt ink (Catherine Pooler) and put one layer of the pine bough around the circle.  I then went back with Lime Rickey ink (also CP) in between each of the pine boughs I stamped in the first round.  I originally stamped the holly berries but ended up putting Stickles on them instead.  I stamped the sentiment in the centre with Rockin' Red (yup CP).  I took a piece of scrap left over from my friend Bonnie's card where she had stamped the Catherine Pooler candy stripe background in Rockin' Red.  I added that to the left side of the panel and put it all on top of a white card with foam tape.  All images are Catherine Pooler.

Tuesday, November 07, 2017

*2017 Christmas Cards #6*

I started out with just the Catherine Pooler background stamp... I was playing around with different ways of embossing it.  For this one, I used VersaMark ink and Stampin' Up! Iridescent Ice embossing powder.  I cut it down, added a red shimmer layer behind it (cut with thanks to my Perfect Layers Tool) and then put it on a top folding white card.

I cut the believe die out of the same red shimmer cardstock and did the shadow of the word in vellum, which you can't really see in the photo.

So much shimmer in the light!

Monday, November 06, 2017

*2017 Christmas Cards #5*

I saw a card similar to this on Pinterest and wanted to try it for myself.  The original card was done in white, gold and red... and I'm not much of a gold person so I did silver, white and blue instead.  The die cut is by Memory Box and I used the same silver shimmer paper behind the white square.  I added the sentiment (Lawn Fawn) in blue Encore Metallic ink and embossed it with blue pearl embossing powder.  One little gem in the centre of the snowflake to finish it off

Sunday, November 05, 2017

*2017 Christmas Cards #4*

I'm really not sure how I feel about this card....  it's not bad, I kind of like it.... but I wonder if it needs something.

I bought the die from someone but have no idea what brand it is.  The snowflake frame is the three snowflakes in the same blue as the frame.  I added a few Impression Obsession snowflakes cut out of more shimmer cardstock.  I started out with the Let It Snow cut out of white shimmer cardstock, but it didn't stand out enough so I layered the same blue as the frame on top of it.  I also added this great little acrylic snowflake to the edge of the frame... sadly you can barely see it in the photo.


Saturday, November 04, 2017

*2017 Christmas Cards #3*

I fell in love with this card when I created it....

I started with a strip of white cardstock that was 5 1/2" X 2" and I sponged on three different shades of blue ink (Catherine Pooler).  Once it was dry, I stamped some Impression Obsession snowflakes on the panel with VersaMark ink.  Once again, I let it dry and then stamped the two pieces of the sentiment (Simon Says Stamp) in black VersaFine ink.  I then added a white My Favorite Things snowflake die cut with a little touch of silver Stickles in the centre.

I had originally thought I'd use the panel on the card but with the other orientation of the card so I left a little white border along the edge....  when I started designing I didn't like it... so I turned the card and added some silver Wink of Stella along that white edge to make it silver and sparkly

At first I worried that there was too much white space... but the more I look at it, the more I like it.

Friday, November 03, 2017

*2017 Christmas Cards #2*

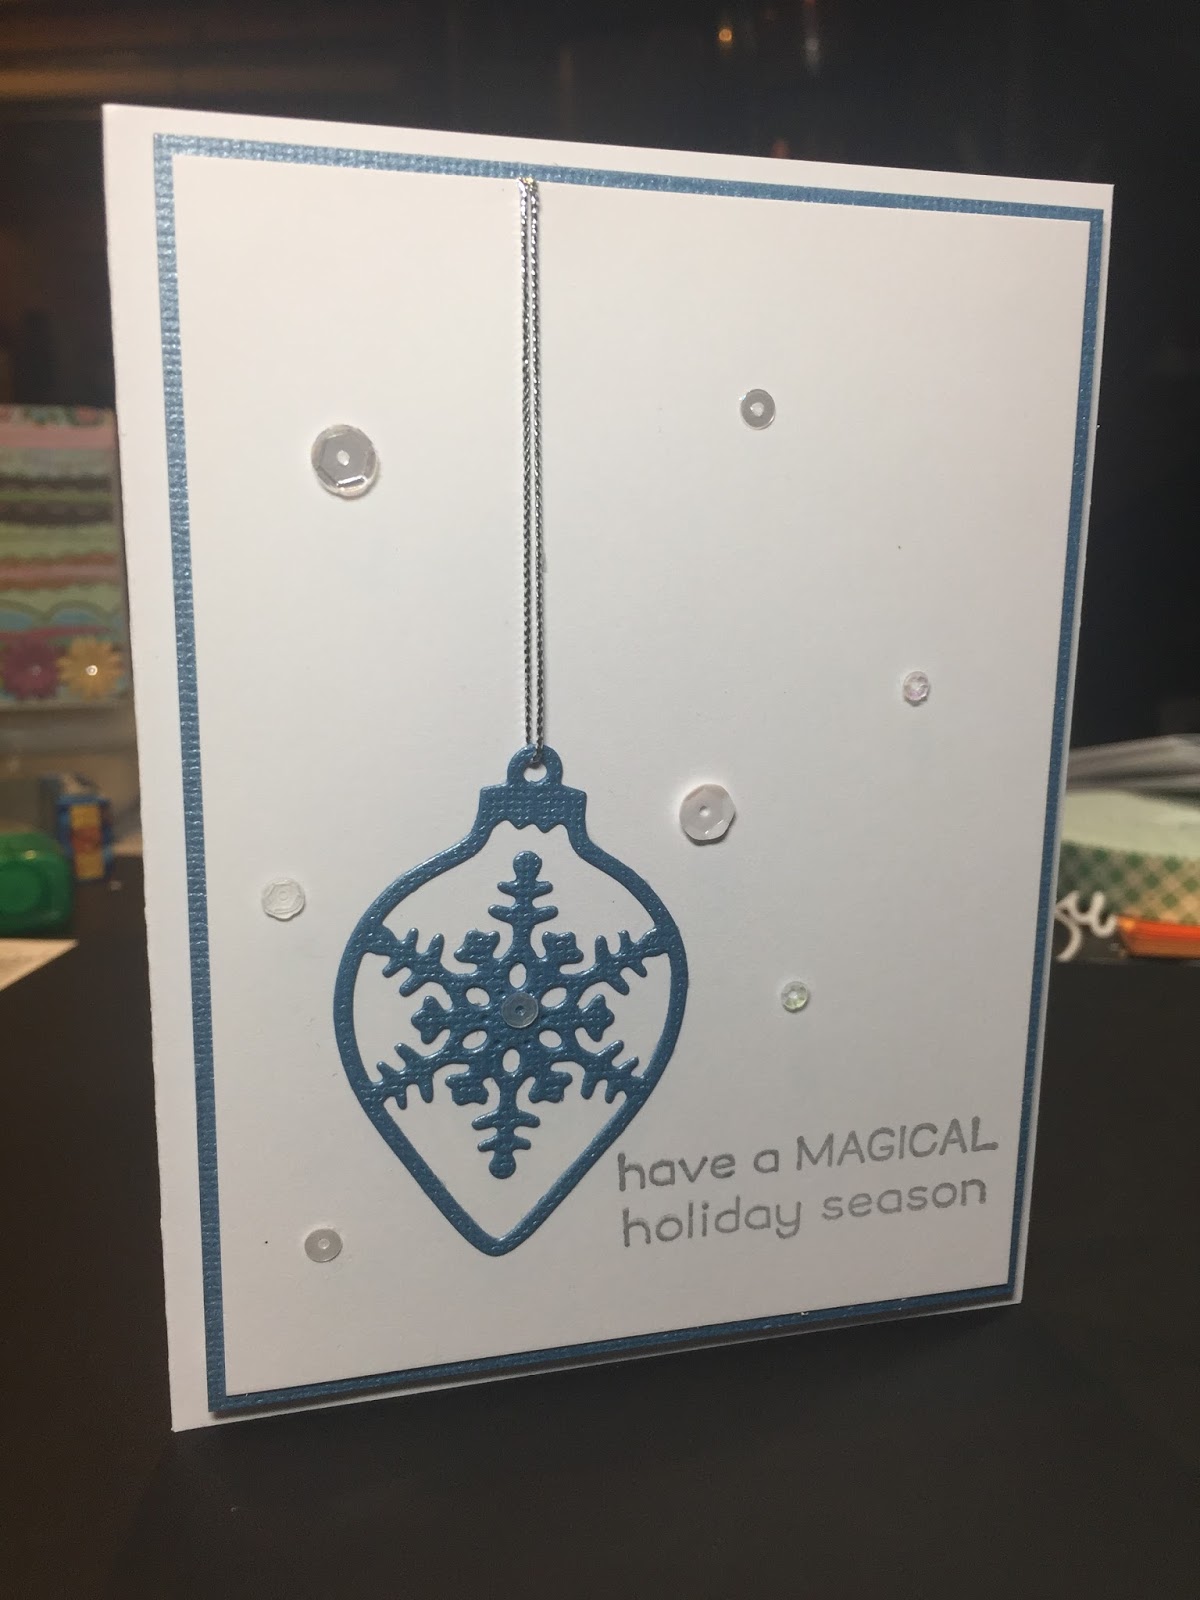
Another quick and easy Christmas card for you....  I have no idea who the die is by as I bought it used without packaging.  But it's a great snowflake ornament!  I cut it out of a blue shimmer Bazill cardstock and added a silver cord through the hole to make it look like it's hanging.  I layered the panel on to a piece of the same blue shimmer Bazill cardstock and then on to a white card with foam tape.  I added a sentiment stamped in silver Encore Metallic ink and a few "snow-like" sequins to finish it all off.

Thursday, November 02, 2017

*2017 Christmas Cards #1*

It's the most wonderful time of the year.... yup, time to play with my Christmas Stash!  I truly LOVE making Christmas cards.  And this year I bought a lot of new stuff to play with!  I am so excited to be playing with it all and creating cards!

This card uses a die cut that I did from a die my sister showed me a few years ago.  I die cut a few of them out of red sparkle cardstock and then did nothing with them... until this card.  I glued it to the front of a white card.  I then cut out some snowflakes from My Favorite Things from white cardstock and glued them to the front of the card.  I added some red stickles in the centres of the snowflakes for  a little pizazz.


 Posts will be more often during the holiday card making season, since I will be making several.  I hope you enjoy them!


Wednesday, November 01, 2017

*Colour on Kraft*

I wanted to create on the day I made this card... but I spent literally hours in my craft space with no ideas that I really wanted to execute.  I found a few cards where people had used coloured pencils on kraft cardstock and I thought I'd like to see what happens with my Copics on kraft.  The colours are quite muted in comparison to the coloured pencils....

I coloured the flowers and cut them out with the Scan N Cut and then didn't know what to do with them.

So I adhered them to the front of a kraft card, popped up the middle flower a bit and stamped the sentiment on the front.  Not my favourite card, but not horrible either.

Tuesday, October 31, 2017

*Eclipse Card*

I've seen a lot of these cards on Pinterest and was lamenting that I didn't own any letter dies or any good word dies... and then it dawned on me.... "Use the Silhouette, stupid!".  So I did!  I need to work on figuring out placement as this cut exactly on the edge of my stamped piece (even though it didn't look like it would in Design Studio) but I was able to salvage it...

This is called the eclipse technique.  You stamp up your panel however you want and then you die cut or use your Silhouette to cut out a word.  I cut the word two more times out of black cardstock.  I then layered the letters on each other, leaving out the insides of the A and Ps.  I put the stamped panel on a black layer, put it on the white card and then put my punched up letters in the holes.  The centres of the letters are only the one layer thick and I added them inside each of their letters.  I added the word "birthday" stamped in black.

I think next time I'll try another layer under the stamped letters.... and I will have to play with placement in Design Studio.

Monday, October 30, 2017

*Clear Embossing Resist*

Another super easy but super colourful card.  I stamped some of the images from Henneh Elements on to white cardstock with my Versarmark ink pad and embossed the images in clear embossing powder.  Once it was cool, I sponged red, blue and yellow Catherine Pooler inks on the panel, blending them to create all the colours of the rainbow.  I used a soft cloth to buff the ink off the embossing, layered it on to a black panel and then on to a white card.  I added a quick sentiment to the bottom of the card.

Sunday, October 29, 2017

*I Used It*

A few years ago, after watching some videos, I decided I needed to buy a Silhouette.  It was delivered and I went straight to cutting a file I had downloaded... and it was a mess...  it stuck to the cutting mat, didn't cut all the way through... and I got discouraged.  I put it away for the day and thought I'd come back to it another time.

But I didn't.  I was seriously considering selling it...

My sister, who bought the Silhouette because of me and who was more afraid to start using it than me, has fallen in love with the machine... and when she was here in August, she showed me a bit about the machine.

So I decided to try playing with it the other day.  I wanted a die cut "happy' to go on a card so I played around with the design software and some of the fonts I downloaded and came up with this card.


Friday, October 27, 2017

*Plot Twist*

A friend of mine was diagnosed several weeks ago with breast cancer.  I made her this card that I hope arrived before her scheduled surgery.  I thought of her when I saw this stamp and had to have it!

It is another quick and easy card...  I stamped the sentiment on the front of the panel in black ink and when it was dry, I taped it off.  I used Catherine Pooler inks on a funky Catherine Pooler stamp to create the rainbow effect.  I cut the panel a little smaller than my card front and sponged ink on to the white card before attaching the panel.

Wednesday, October 25, 2017

*Good Friends Again*

I revisited this great Stampin' Up! stamp again... this time I used my Misti and some Catherine Pooler inks to create a rainbow effect on the stamp.  I stamped the sentiment again with Versamark and embossed it in clear.  I used my Perfect Layers tool to cut the silver glitter paper layer and added a Michael's flower that I coloured with some Catherine Pooler ink.

Tuesday, October 24, 2017

*The Oldest You've Ever Been*

Just a quick card using some Cathrine Pooler inks... one layer, no embellishments.

Saturday, October 21, 2017

*Big Happy*

My friend Bonnie came to play a few weeks ago and she brought her letter stamps... I wish they weren't a "distressed" look, but I am still happy with how the card turned out.

I stamped the letters using Catherine Pooler ink and my Misti... and added the birthday stamped in black ink.  I used my Perfect Layers tool to create the black layer.

I love how clean and bright this card is!

Tuesday, October 17, 2017

*Simple Birthday*

I saw a card like this on Pinterest recently and decided to make it my own.  I used my Perfect Layers tools to create the two layers you see, coloured the image with Copics.  The happy birthday sentiment was supposed to just be on the front of the card but it didn't stamp properly... so instead of ditching the card completely, I just stamped it again and created a banner with it and put it on the card with pop dots.

Saturday, October 14, 2017

*Quilt Dies*

I bought a couple of quilt dies a while back and finally decided to play with them.  I cut the die out of cardstock as well as four different patterned papers.  I pieced them together on the front of a square card.

Tuesday, October 10, 2017

*Good Friends*

I was at a Stampin' Up open house ad I saw this stamp set and *had* to have it...  I'm still playing around with the perfect look for it.

For this card I used a sponge dauber and Catherine Pooler inks to create the background.  I stamped the sentiment in black ink and traced around the rubber with a pencil to create the shape.  I then put it through my Brother Scan n Cut to cut it out.  I added a few flowers I had stamped and cut out with my Scan n Cut.  I think maybe the white is a little to drastic, but I still like how it turned out
I sent this card to a friend for her birthday... I've known her since 1976!

I realized I haven't given an update on me since the summer.... 

In mid-July I ended up in the hospital with an infection at the site where they joined my colon to my small intestine.  I ended up in the hospital for 5 days on IV antibiotics.  July 25th, my 27th birthday, I met with my oncologist for the first time and found out that my tumour was a late stage 2 (or could be called early stage 3) so Bruce and I decided that to ensure that the cancer is truly gone I would undergo chemo treatments.  My oncologist told me it would be 2 weeks of pills, one week off for 8 rounds. 

I thought that the oral chemo would be easier on my system... but it wasn't.  I ended up with some pretty severe side effects after my first round so I ended up with an extra week off of pills.  They lowered my dose for round 2 and it has stayed there for round 3 (where I am now).  I am absolutely exhausted at the best of times.  I am working a couple of half days a week and I had hoped to add more time to my schedule but my body just won't allow it. 

I am looking forward to having my life back to "normal"...  bring on January!

Saturday, October 07, 2017

*Colourful Flowers*

I stamped these two flowers several weeks ago when I first got my Brother Scan n Cut.... I wanted to see how it worked.... I LOVE how easy it makes it to cut out stamped images.  No more fooling around with the matching dies.

I used a sponge dauber and some Catherine Pooler inks to colour the flowers.  I added some leaves I'd cut out as well.  The blue panel behind the sentiment was colour with the sponge dauber and Catherine Pooler ink as well.
I really like how this card turned out.

Tuesday, August 29, 2017

*Simple Flowers*

I don't know what's up with my iPhone lately... my photos just aren't crisp and clear...   I'll have to play around with it... so very disappointed in my photos.

I used a Winnie and Walter flower in Catherine Pooler inks, lined up with my MISTI and then the words from a Catherine Pooler set.


Saturday, August 26, 2017

*White on White Layers*

I was inspired by a card I saw on Pinterest for this one....  they used a butterfly die cut and I found that the butterfly I had was way too big...so I exchanged it for this intricate flower.  I stamped the swirl on a white layer that is 1/4" smaller than the card base and popped it on the card with foam tape.  I added a little sparkle

Tuesday, August 22, 2017

*Second in a Style*

Very similar (almost the same) to the last card I posted...  different stamps, different colours, but same card...


Saturday, August 19, 2017

*One Layer Celebrate*

Another very quick and easy card.... one little layer and that's it!  I stamped the flower (AlteNew Henneh Elements) with VersaFine and coloured with shades of pink Tombow markers.  I added the sentiment, stamped in VersaFine as well.  I added some Wink of Stella in clear on the flower to make it sparkle a little

Tuesday, August 15, 2017

*So Quick*

I was behind in some birthday card making and sending so I needed something very quick and easy... I went through my patterned paper stash and found a partial sheet of this stuff from way back when I worked at the Scrapbook Pantry (we're talking 7 or 8 years ago!).  I used a punch to cut the squares to ensure they were the same size.  I put them on the front of a top fold card using foam tape and added a sentiment below.  So quick and easy!  I might try more with some different papers!

Saturday, August 12, 2017

*Happy Birthday Beyotch*

When I saw the Saucy Sentiments set from Cathy Zielske, I knew I had to have it...  They sayings are all a little "off the cuff" and totally me! LOL!

I cut a circle using two sizes of Nestabilities, added a bunch of those flowers I stamped out with the other card (stamps by Winnie and Walter, cut with the Brother Scan and Cut) and added the sentiment.

Tuesday, August 08, 2017

*Good Friends*

When I saw this one stamp (part of a set) from Stampin' Up!, I knew I had to have it.  It just totally drew me in!  I paired it with some Winnie and Walter stamps done in Catherine Pooler inks and cut out with my new Brother Scan n Cut 2, which I am totally in love with!  I did a half sheet of cardstock stamped with different coloured flowers and leaves and cut them all out in a matter of a couple of minutes.  I have lots left over to play with on another card!

Saturday, August 05, 2017

*Happy Anniversary*

Two lovely ladies who have come in to my life celebrated their first wedding anniversary at the end of July...and I wanted to send a card.

I used Catherine Pooler inks and images to throw together this card... I completely stole the idea from something I saw on Pinterest, but I'm OK with that LOL!

Tuesday, August 01, 2017

*Sitting Around*

Once again, I used up some stuff that was sitting around my stamp table to create a card.  I had stamped these images from the AlteNew Hennah Elements set and then set them aside for a while...  I coloured these two up with my Tombow markers, used the matching dies to cut them out, added a sentiment and voila!

Saturday, July 29, 2017

*Tim Holtz Distress Inks*

I went shopping (online) at Scrap'n Stamp the other day and purchased 5 packages of the Tim Holtz Mini Distress Inks... I'd seen so many great watercolour techniques with these inks that I just couldn't help myself!

I used a piece of watercolour paper from Michael's and got it good and wet with my paintbrush and plain water.  I then smooshed ink on to large acrylic block in a rainbow pattern and then sprayed it well with water using a fine mist spray bottle.  I then put the block down on the wet watercolour paper, put a weight on it and let it sit for about 5 minutes.  I let the piece completely dry overnight before I attempted to cut out this fabulous daisy die.  I had to use the metal shim and pass it through my Big Shot a few times to get it to cut out well.  The die set has an outline die as well so I used that to cut out a lavender coloured pearl shimmer cardstock and I adhered that to the back of the daisies.  I then stamped the word HAPPY with one of the distress inks and then the word BIRTHDAY on the inside.

Wednesday, July 26, 2017

*Birthday Balloon*

This die set is apparently a knock off of the die by My Favorite Things... and had I known how much smaller it all was, I would have splurged on the MFT one instead.

But I still like how this card turned out.  I would have loved the balloon to have been bigger, but with the smaller panel on front I think it still worked out.


Saturday, July 22, 2017

*Found an Image*

I stamped and coloured this image *years* ago... literally, years ago... and never did anything with it.  I was bored and felt like creating and decided it was finally time to make something with this image.  I was tempted to just throw it out, but I liked how my colouring turned out, so I started to play.  A few Nestabilities and a couple of those old Michael's flowers that I coloured up and voila!

Tuesday, July 18, 2017

*More Time To Stamp*

Life threw me a big curve ball back in May...  after a colonoscopy that I really thought I didn't need, I found out I had a tumour in my colon.  On June 23rd I had surgery to remove about half of my colon.  Thankfully between the surgery and a CT scan, we know that the tumour did not spread past the colon (no other organs were affected and all 43 lymph nodes that were taken during surgery came back as clear).  However, the tumour was quite large (for those that get cancer diagnosis, I am Stage II T4 M0 N0).  I see the oncologist on July 25th to determine if I need chemo or not...

But, because of the surgery, I have had a lot of time on my hands... the surgeon wanted me off work for at least 4 weeks.  I'm just finished week 3 since my surgery and I'm feeling pretty good... so I've found a little time in the last week or 10 days to create.  I've made more cards so far in 2017 than I did in all of 2016 (other than Christmas cards).

This card uses a stamp set from Winnie and Walter, a sentiment from Impress and a bunch of Catherine Pooler inks.  So fun and summery!

Saturday, July 15, 2017

*Terrible Photos*

Please excuse the terrible photos for the next few cards... I didn't realize, until after I'd mailed the cards, that the lens on my iPhone was dirty or whatever, and my photos all looked washed out.  

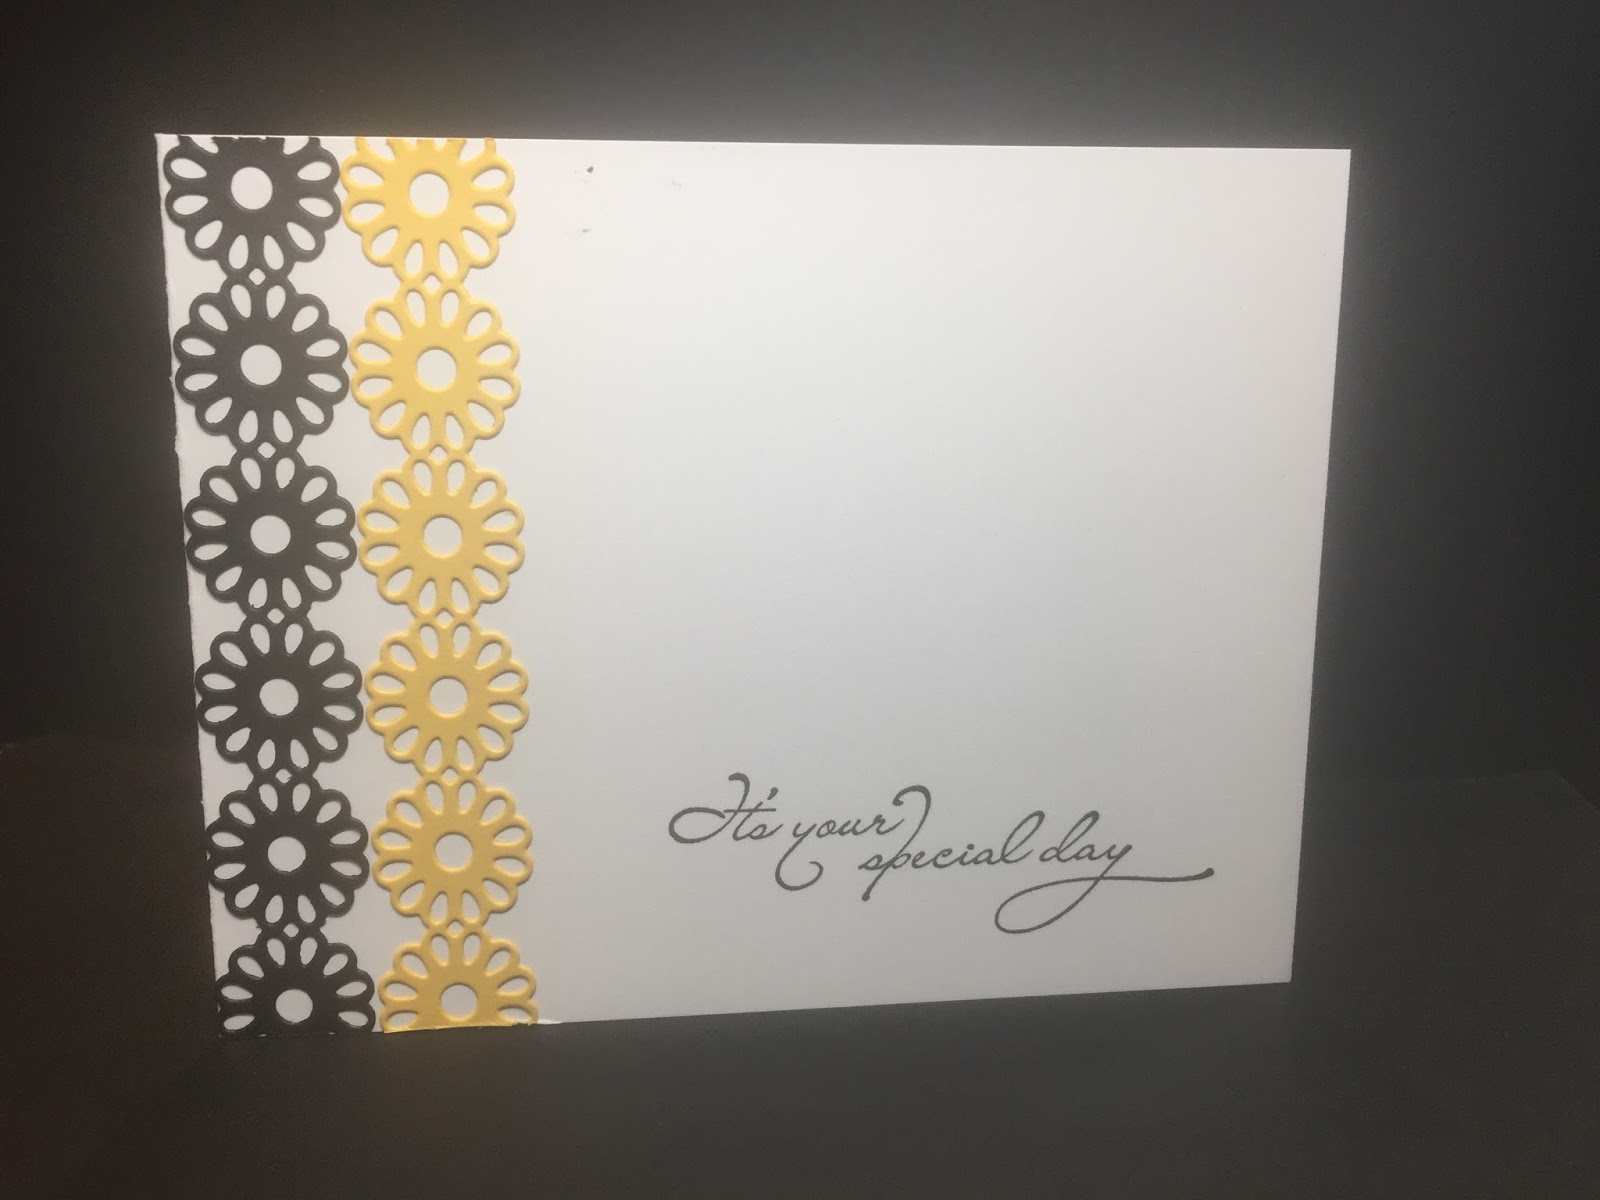
I bought this daisy die from a group on FB that I belong to...  cheap dies are awesome LOL!  I was just playing around, to see how the die worked and decided to use the black and yellow tests I cut out to create this card.  I just glued them down on the side of the card and stamped the sentiment with black Versafine Ink (my favourite ink for detailed stamps).


Tuesday, June 13, 2017

*Another Happy Birthday*

I realized that I needed one quickie birthday card so I threw this one together.  It's a white card base with a layer of a really old Basic Grey patterned paper.  I cut the paper and the top white layer with two different sized dotted rectangle dies I have.  I stamped the Happy and Birthday from Lawn Fawn using Catherine Pooler ink.  I then added a flower with a black pearl to finish off the card.

Saturday, June 10, 2017

*Fancy Happy*

Another card created using the Lawn Fawn Happy Happy Happy stamp set and dies.  These items truly do make me happy happy happy!

I put some polka dot washi tape along the card.  I used several layers of the happy die glued together to add some dimension to the card and stamped the word birthday in black Versafine ink.

Tuesday, June 06, 2017

*Big Medallion*

I bought this medallion die off of a Facebook Group and thought it would be different than it is.  I cut this die out several weeks ago in the red cardstock but when it wasn't like I thought, I didn't know what to do with it.  I spent a few hours one afternoon getting some birthday cards done and I decided to see what I could do with the medallion.  I cut the HAPPY from that Lawn Fawn set in black and used my Misti to help me line up the stamp.  I stamped it in Versarmark ink and embossed it in white.  Then, to add some dimension to the card, I cut the HAPPY out three more times in black and layered the embossed one on top.  I put the medallion on the card, added the HAPPY and stamped the word birthday in VersaFine black ink.  I added a black pearl to the centre of the medallion.

Saturday, June 03, 2017

"Happy Happy Happy"

I picked up the mail and just knew I had to play as soon as possible when this stamp and die set arrived from Scrap n' Stamp!  The sets are by Lawn Fawn.  I also bought this great patterned paper... dots and stripes!

I simply cut the one HAPPY out of five different colours of the dot paper and glued them on top of the 6th colour of striped paper.

Tuesday, May 30, 2017

*Little Ladybugs*

I bought this set of ladybug dies a few weeks ago and was thrilled to find some time to play with them!  There are a couple different options for each ladybug as you can see here...  cut the body in black and the other part in red and glue them together (thank GOD for the detail glue I bought from Stampin' Up!).  I put each of them on a square of white and used my Perfect Layers Tool to create a 1/16th" border around each square.  The shadows make them look like the squares are different sizes.

Saturday, May 27, 2017

*Quick Invite*

Friends of ours contacted me via Facebook a few weeks ago while I happened to be in my creative space...  they needed just one invitation for a baby shower.  Yup, just one.  Everyone else was being invited via a Facebook invitation, but this one person did not have Facebook....  They asked if I would be willing to put together an invite for them.  Of course I said yes!  They are having a little girl this summer so I chose some pretty girly paper and recreated a birth announcement I made several years ago for another friend.  The front panel is adhered to the back to create a pocket and the bright pink panel pulls out for all of the information about the shower.  I was so happy that they liked it!

Tuesday, May 23, 2017

*Birthday Stripes*

This card was pretty quick and easy.... but I realized after I put it together that I made a mistake.  See if you can find my "oops".... I'll mention it at the bottom of the post.

I simply took some different patterns and colours from an old package of Stampin' Up patterned paper and cut them to size... put them on the side of the card and stamped a sentiment on the other side.  I should have measured better to ensure all of the panels were the same size once they were on the card... I probably could have done math... but well, I didn't.  LOL
Now, the "oops"...  I forgot that the Stampin' Up! papers had their copyright on them and at least one of the papers has that showing on the card.  Oh well....

Saturday, May 20, 2017

*Watercolour*

I got this great floral background stamp from Catherine Pooler Designs and just had to play with it as soon as it arrived...  I need to play some more with it.

For this card, I stamped the image in Versamark ink and embossed it with white embossing powder on some watercolour paper.  I used a clean water brush to put a layer of water on the panel and then picked up colour from some different Tombows (that I scribbled on a plastic sheet) with the water brush and randomly placed the colour on the panel.  Once it was dry, I did it all again to get it all a little darker.  Once it was all dry again, I used my Misti to stamp the sentiment on the top as I had to do it a few times to get it to get good coverage because of the embossed powder.  I used my Perfect Layers Tool to add a very thin pop of pink and then put it all on a white card.

Tuesday, May 16, 2017

*Bright and Sunny*

I had a lot of sun playing with this stamp set, white embossing powder and my Tombow Markers.  I love how saturated the colour in these flowers is!  I thought that the card needed something more so I added some little black dots around the flowers.

Saturday, April 15, 2017

*Easter Fun*

Check out the Easter Fun at Scrap n' Stamp this weekend!!!!


Click HERE to play!!!

Saturday, April 08, 2017

*Congrats!*

Just over a year ago, my sister started walking... she decided to walk every single day to try to get healthier.  In March, she celebrated her 365th walk.  Not only has she walked every day for a year, she has shed some weight and she has started to run!  I am so very proud of her!

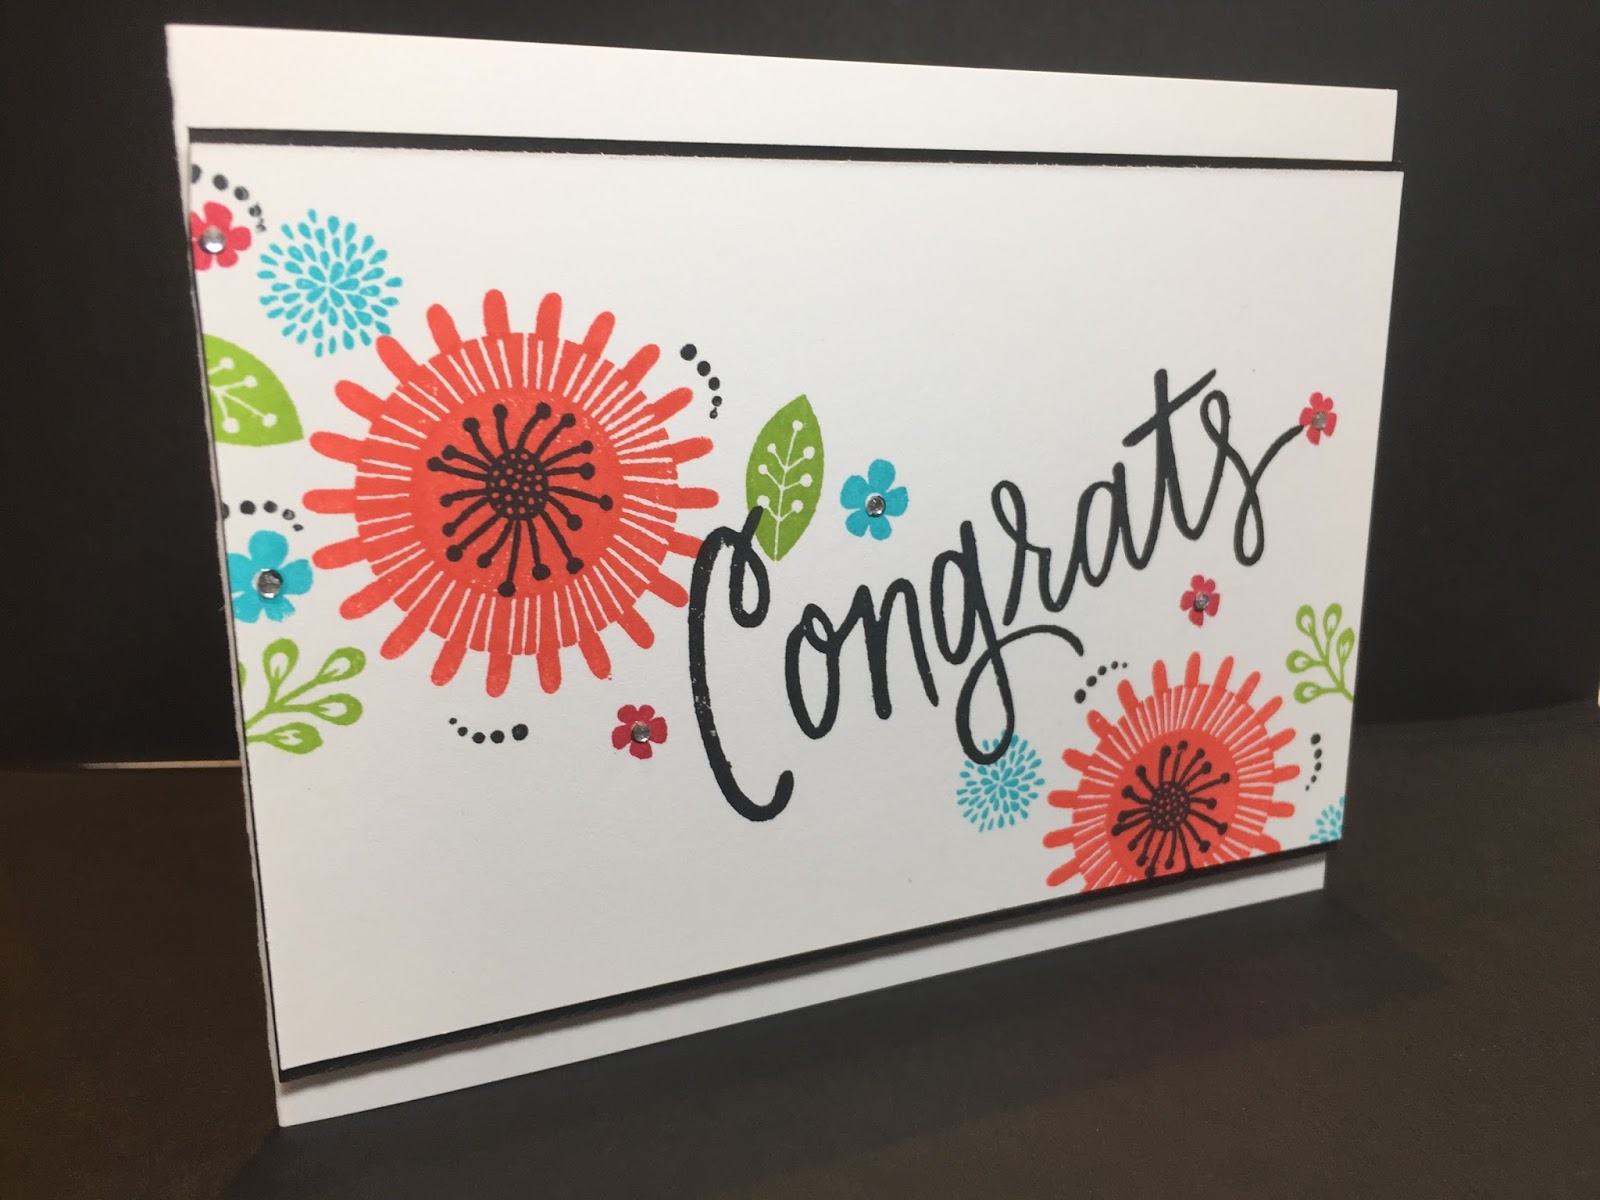
I decided to send her a gift card to her favourite active wear store and a card to celebrate the milestone... I used these great stamps and inks from Catherine Pooler and made this card based on a card I saw on Pinterest.  I loved how it turned out!

Tuesday, March 28, 2017

*Playing*

A few weeks ago I packed up some stuff and went to Bonnie's for a few hours to play.  Those that know me, know that I do not create very well away from home.  I took a few things and didn't work on them at all, but I did play with this new Catherine Pooler stamp set and some inks to create the fun paisley background.

I love that this first release of Catherine Pooler inks all work together...  you know that you can create using any of the colours in the palette.  Makes it a little easier for this girl!

Friday, March 17, 2017

*Wishes Come True*

I absolutely love the colours that Catherine Pooler came up with for her new inks...  and I love that the first set she released all work together (which is her plan for all ink releases she does).  You know that these colours will work together because their tones are the same.  One colour won't be too light or too dark.

For this card, I stamped some images on white cardstock and embossed them in white.  I then sponged the rainbow on to the stamped piece.  I trimmed it up around the edge of the images and put it on a white card with foam tape.  I added some grey dots around the edges and stamped the sentiment in black ink.

I'll definitely be playing more with the resist technique!

Sunday, March 12, 2017

*Simply Happy*

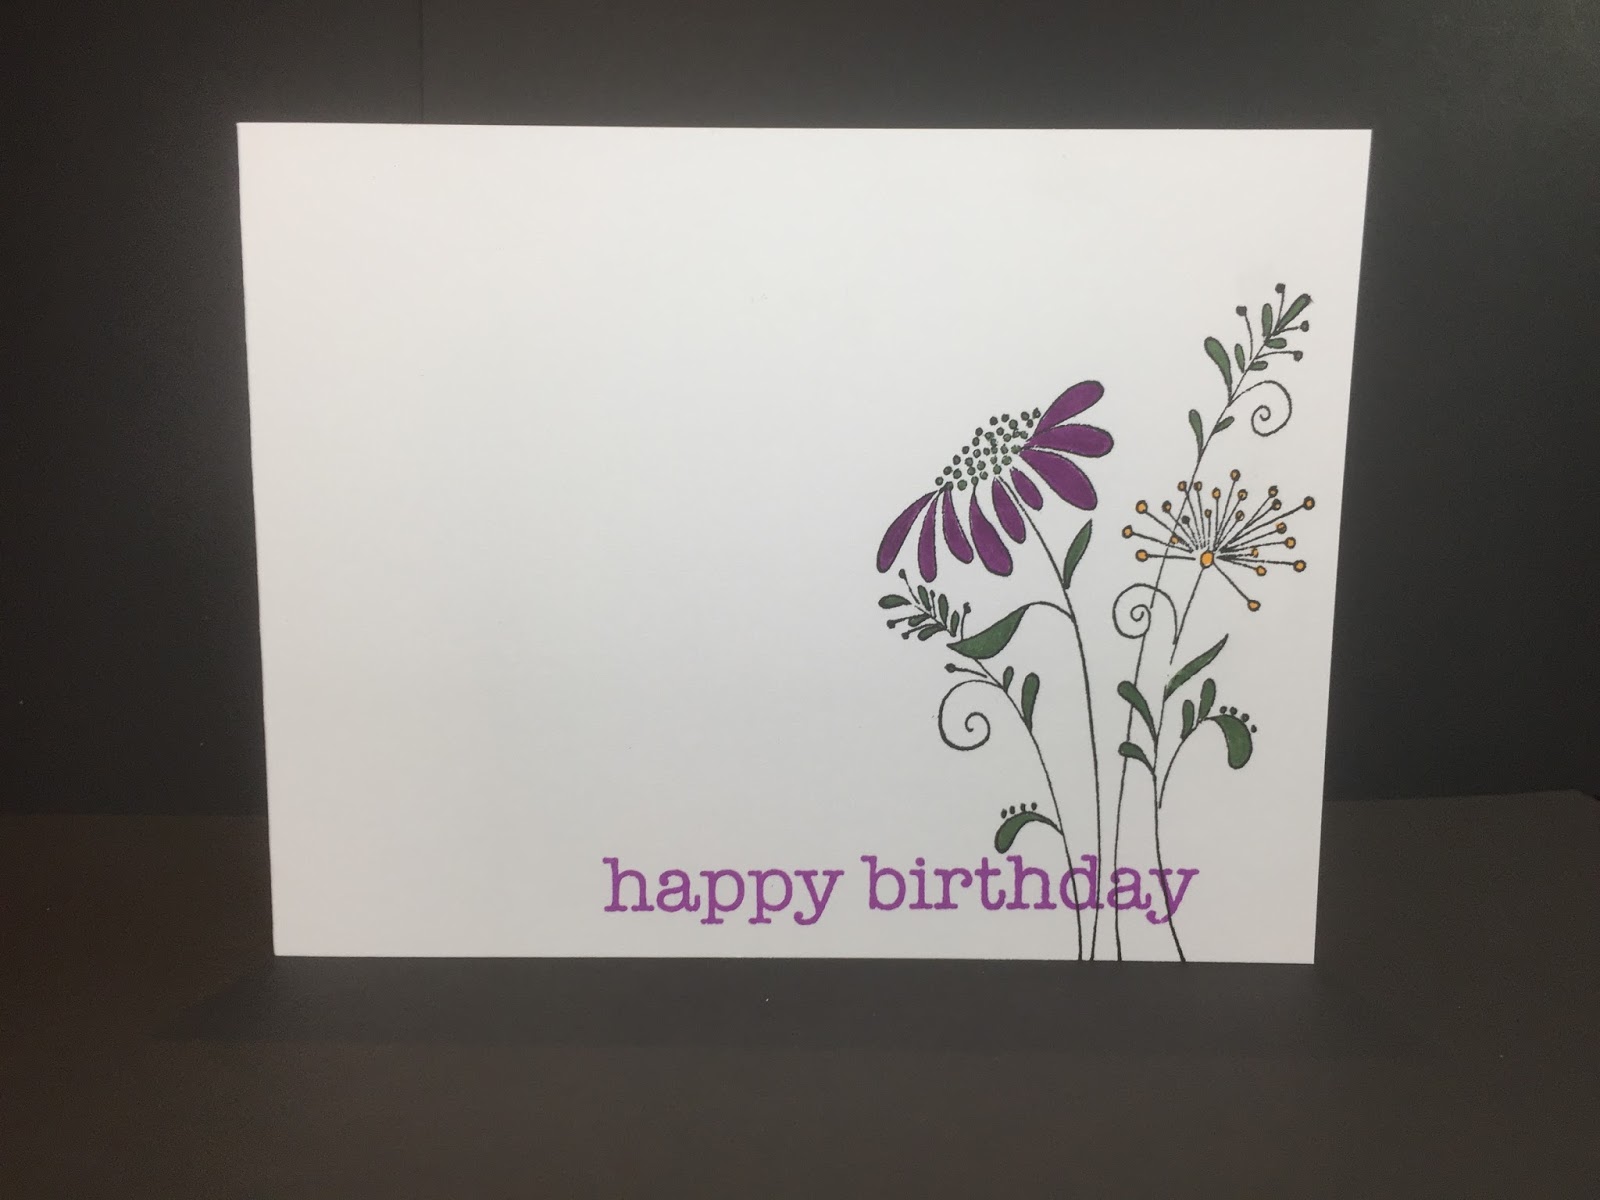
Such and easy card to created....  it's an old wooden stamp from my stash, stamped in black ink and coloured up a bit with Tombow markers.  I added the Happy Birthday sentiment, stamped with a Catherine Pooler ink and voila!  I used my Misti to make sure I got that sentiment exactly where I wanted it.

Quick and Easy....

Friday, March 10, 2017

*Free Shipping!*

This weekend, Scrap n' Stamp has free shipping!!!
Click on the image to go to their site and use the coupon code to enjoy free shipping!!